Now that I have started to do regular 'Get Ready With Me' videos on Snapchat you probably have noticed that I don't do any in the morning when I'm getting ready for college. Well that's because I do my makeup in the car on the way there. I don't wear makeup every day to college but I do some days and when I do I never want to get up earlier to do it so I just do it in the car!
I've learned a lot about doing my makeup in the car so I decided to share the tips and tricks I do to make it easier and look as good as possible.

First of all, pack your makeup bag the night before. If you have a big stash like me and use something different every day then I would suggest doing this. What I do is pick out the products I want and put them in a big makeup bag. Then I make sure I have a brush or tool for every product that I have packed and I put these into a separate smaller bag, just so that everything is separate and easy to find.
 In this bag I always have a little bottle of micellar water, cotton pads and cottons buds to clean up mistakes. I also have a mirror in here from Tiger that fits into the bag and is great to use when I'm doing my brows or mascara and want to see something a bit better.
 As I said I use different products every day and do different looks so I decided to share my favourite go-to look at the moment. One huge tip I have is not to do any eyeliner or anything that needs a steady hand because bumpy roads and liquid liner don't go well together! Another tip is to not use loose powder or pigments, basically anything that could go flying all over the place and create a mess!
 I love to blend in my foundation with a sponge when I'm getting ready at home so I make sure I use a light coverage, super bendable foundation that looks as good when I use a brush. Or else if you despise using a foundation brush just make sure to dampen your sponge before you leave the house that morning.
 One again I skip the eyeliner just because I'm not the best at applying it anyway so I don't want to try to apply it on a bumpy road! If I do want to define my eyes even further I take an angled brush and smudge some dark eyeshadow along my lashline.
 Makeup Revolution Aqua Priming Base
I've learned a lot about doing my makeup in the car so I decided to share the tips and tricks I do to make it easier and look as good as possible.

First of all, pack your makeup bag the night before. If you have a big stash like me and use something different every day then I would suggest doing this. What I do is pick out the products I want and put them in a big makeup bag. Then I make sure I have a brush or tool for every product that I have packed and I put these into a separate smaller bag, just so that everything is separate and easy to find.


Soap & Glory One Heck Of A Blot Primer
Rommel Fresher Skin Foundation - 010 Light Porcelain
Urban Decay Naked Skin Concealer - Fair/Neutral
Kiko Radiant Fusion Baked Fusion - 01
NYC Smooth Skin Bronzer - Sunny
Max Factor Creme Puff Blush -Lavish Mauve
Sleek Highlighting Palette - Solstice
Essence Make Me Brow Eyebrow Gel - Blondy Brows
NYX Tame & Frame Tinted Brow Pomade - 02 Chocolate
Max Factor Excess Shimmer Cream Eyeshadow - 20 Copper
Urban Decay Basics Eyeshadow Palette
Covergirl The Super Sizer Mascara - Black/Brown
NYX Soft Matte Lip Cream - Stockholm


So let's get onto the trial part of this blogpost. I'm really just basically applying the products but ye wanted to see it so here it is! I start off by spritzing some of my primer water all over my face. I then apply my pore minimising primer in my t zone. I know two primers seems a bit excessive but I find that if I primer my skin properly then my makeup lasts all day.


Using a lightweight foundation, I then applied it all over my face with the Real Techniques Expert Face Brush. Once that's all blended I put some concealer under my eyes and on any imperfections, again blending it in the the same brush.

I set everything with a powder to make sure my base lasts during my day of college.


Because this is a daytime look and it's quick to do I'm not going to go and contour and sculpt the face because ain't nobody go time for that! I'm applying a little bit of bronzer in the '3E' shape around the perimeter of my face. This adds a small bit of definition and colour to the face. 

I am then popping on a bit of blush to the apples of my cheeks and putting some highlight on the high points of my face. This again adds some colour and glow to my face.


Starting with a brow gel I brushed this through my eyebrows. I then used some brow pomade to add some shape and definition to my brows.


To prime the eyes I put a shimmery cream eyeshadow al over the lid. You could even leave the eye makeup here as a nice 'no makeup' look. Using a crease brush, I applied some matte mid-tone brown shadow into the crease. I used the same brush and picked up the darker brown into the outer crease to darken up the look. To brighten up my eyes I put some of the lightest shadow into the inner corner. To finish off the eyeshadow I smudged some of the mid-toned brown onto my lower lash line.

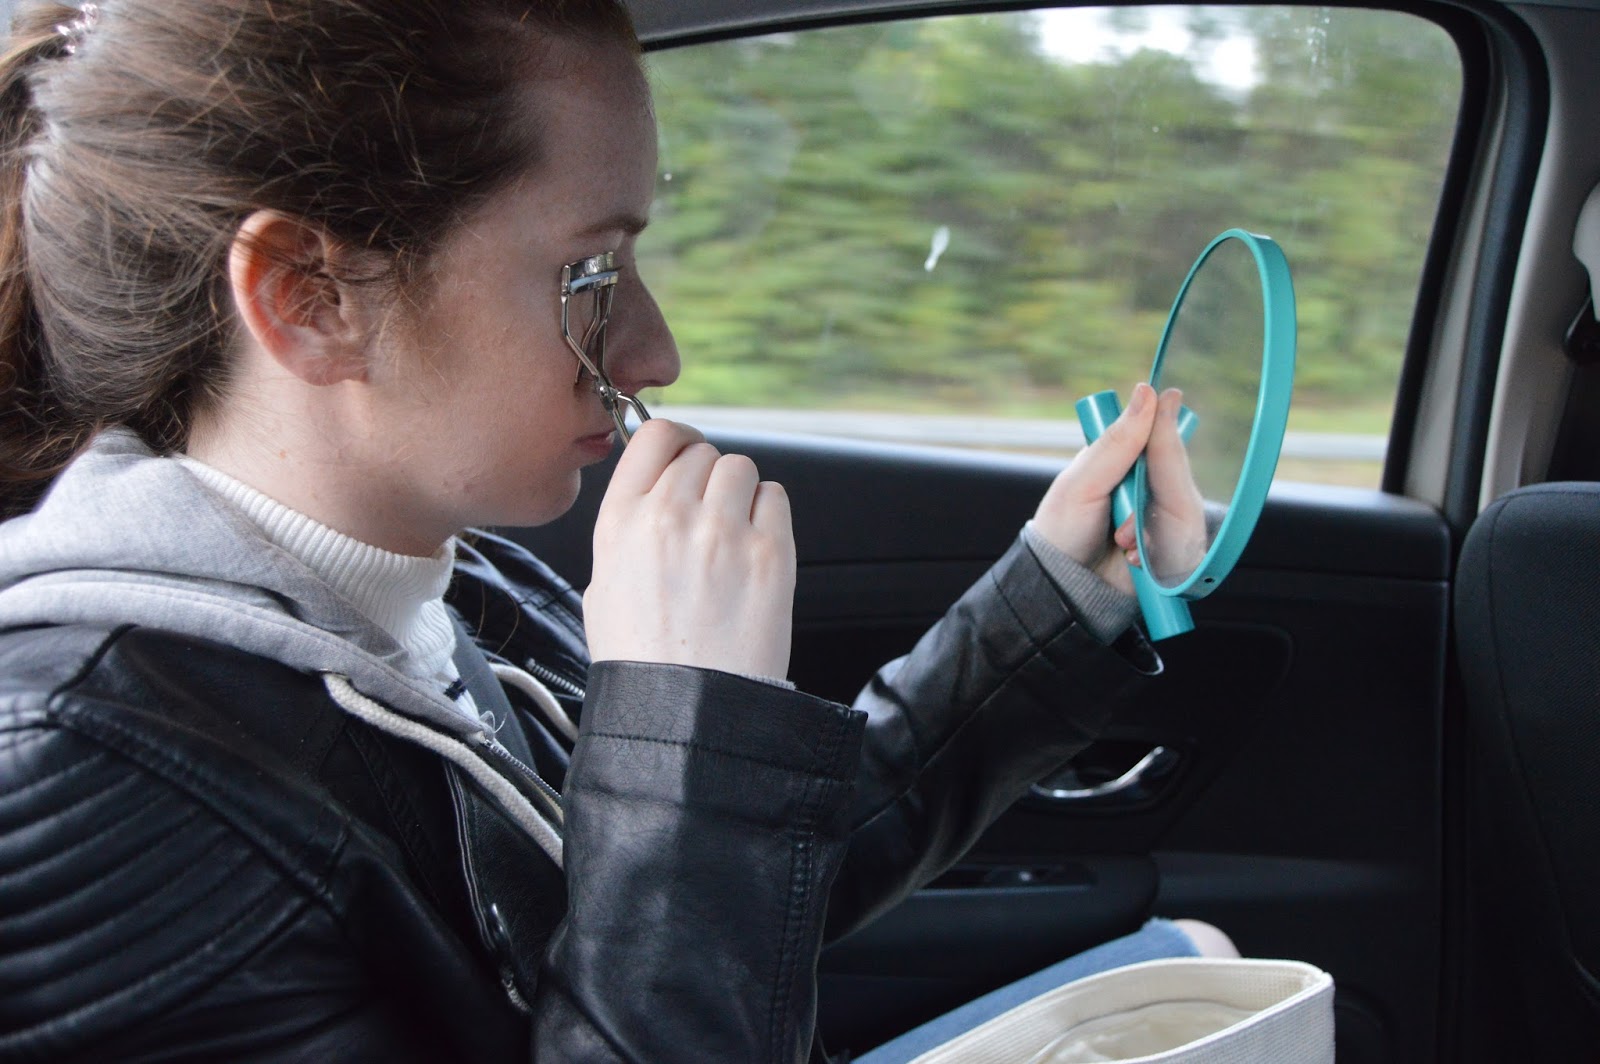
I can never skip this step so of course it's going to be part of my makeup on the go. So I'm curling my lashes and then applying mascara but being really careful that I don't poke myself in the eye. This is the only part of the makeup that is tricky to do en route to college.


I then applied a matte liquid lipstick that is very longlastsing. I'm using a coraly nude so it's a slight pop of colour without being too much of a statement. And we're done!


I hope you have enjoyed this post,
Ailbhe x
Nice post! I've started doing my makeup in the car if I am late for something. It is something to do for an hour or so, at least you won't be bored.
ReplyDeleteRóisín
totallyro.blogspot.ie
Thank you gal! Exactly thats exactly why I started doing it too, now I just do it because I get more time in bed!
DeleteAilbhe x
Great post! I suck at doing my makeup in the car haha, great picks, I love the UD concealer
ReplyDeleteInstagram | Blog
Thank you gal! It takes practice, trust me I was rubbish too at the start! I adore that concealer so much, it covers everything and it isn't drying on spots.
DeleteAilbhe x